9 Months, 3 projects later, I’m here again, and once again, I have no clue how I went about it the last time I managed to resolve it. Googling, StackOverflowing, rummaging, I finally find it, and this time, I’ve decided to document it. If Firebase won’t do it, I will!
So here are the steps to customise the firebase action URLs that are present in your apps' "Password reset", and "Account verification" emails. This is important to write because as at the time of writing (11, June 2022), it is quite easy to miss.
1. Login to your Firebase console (obvioisly) and navigate to the Firebase Project whose action URL you'd like to customise.
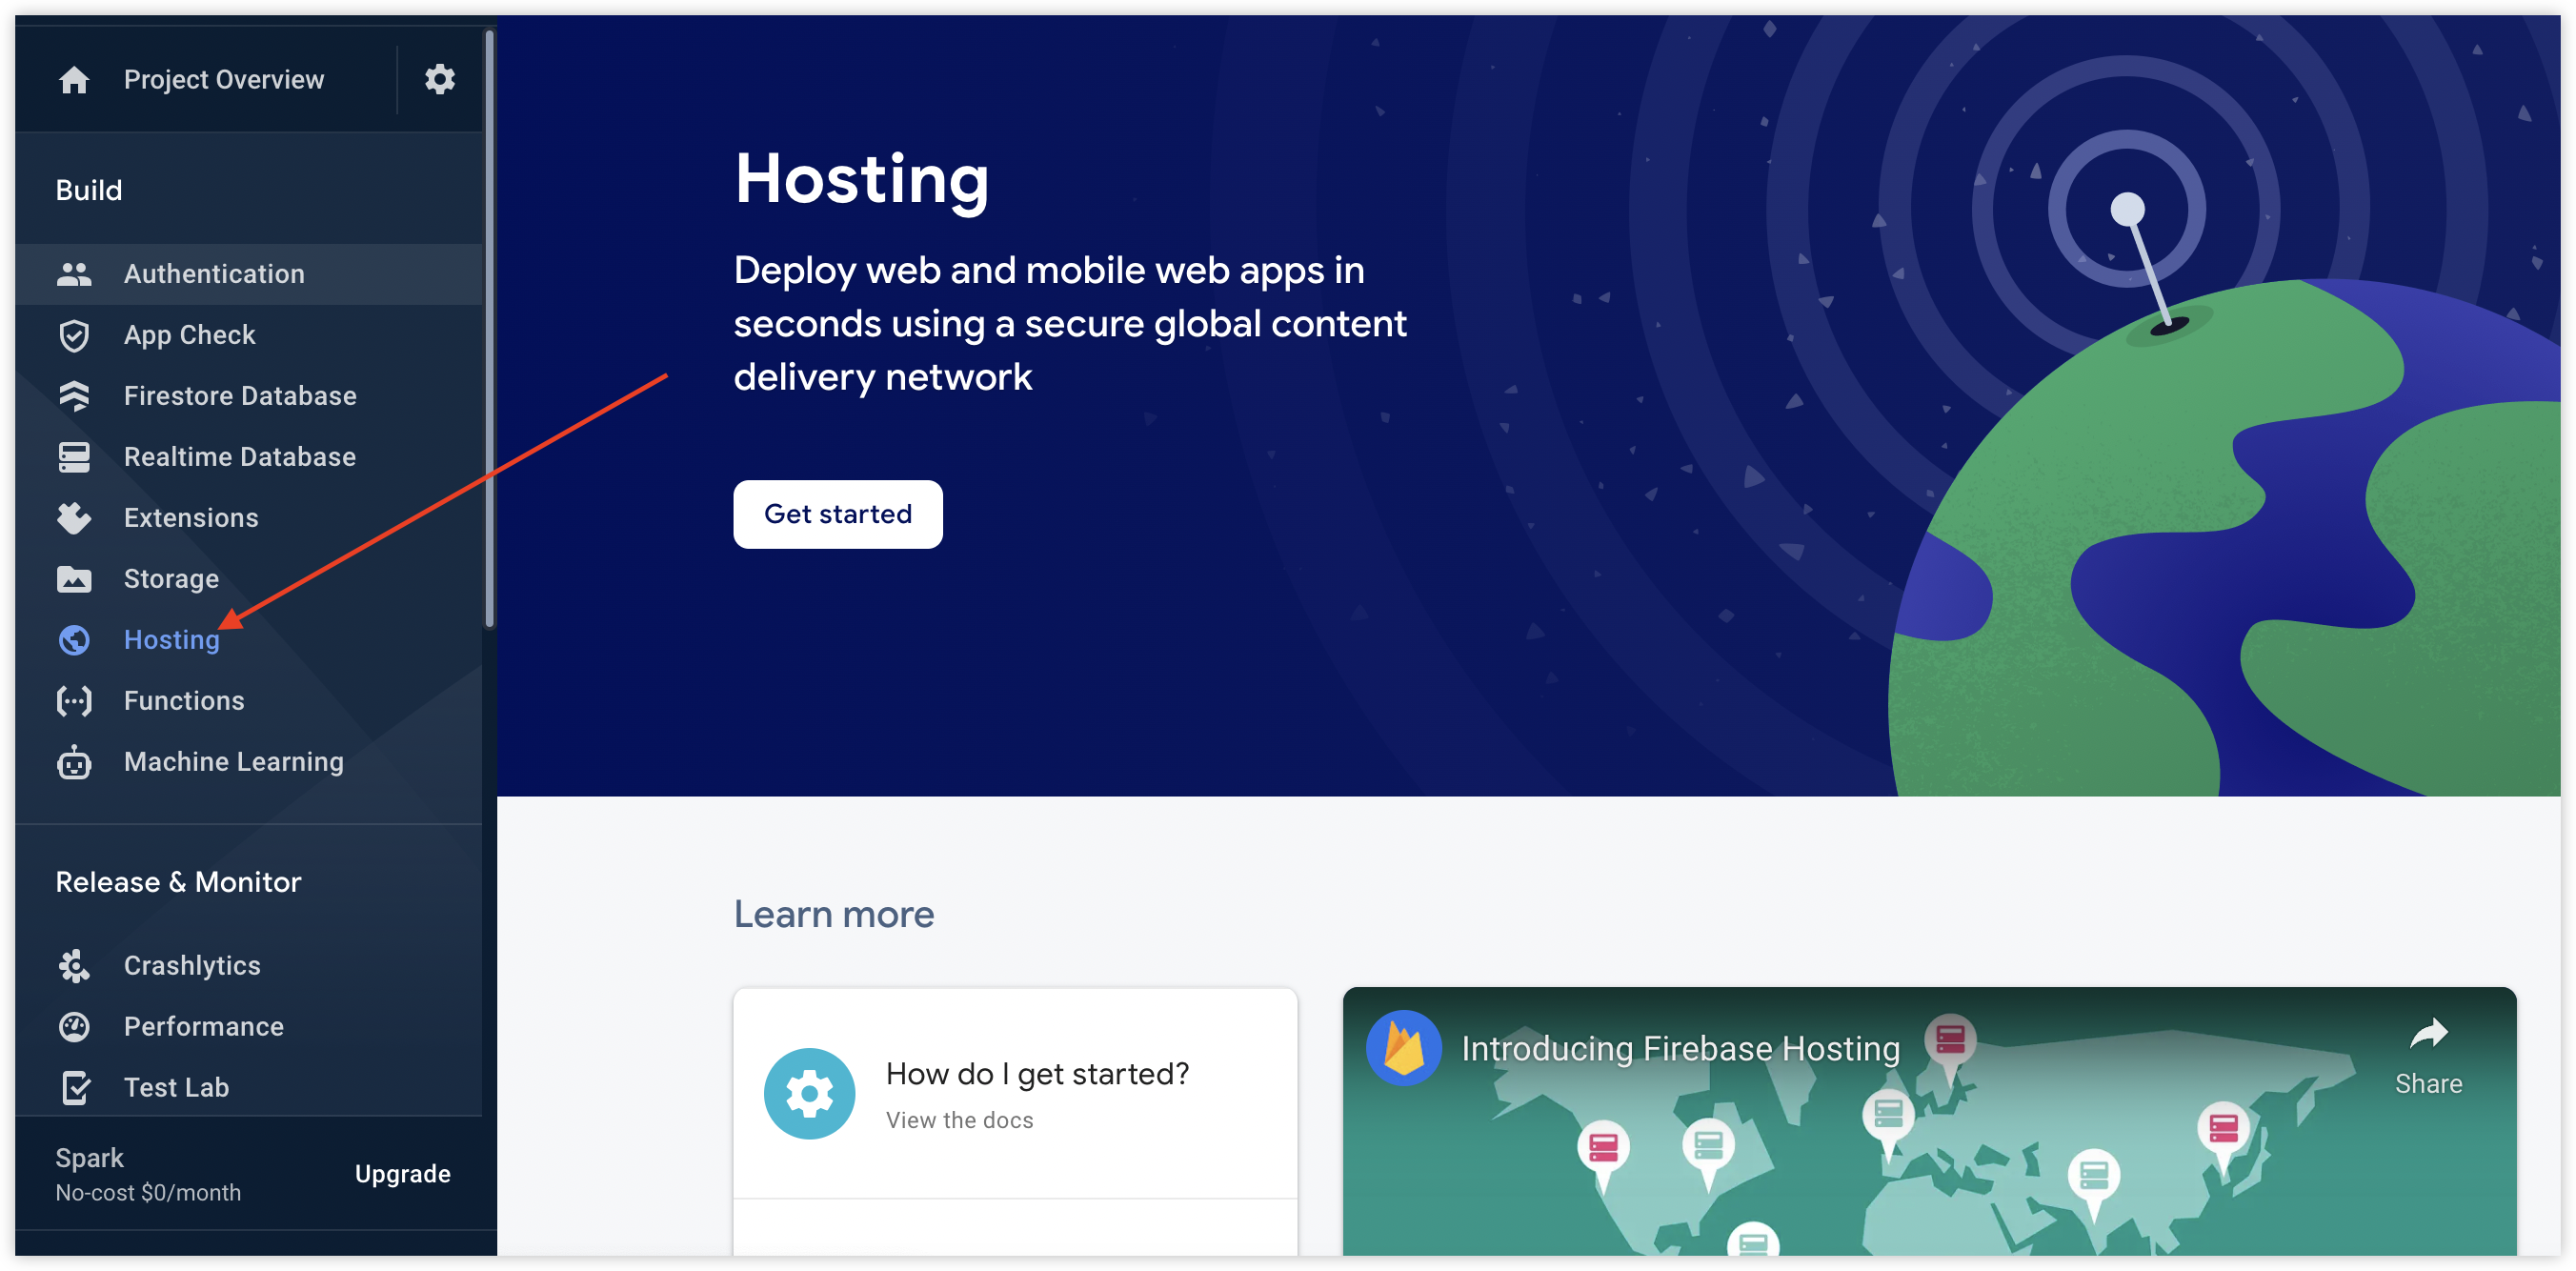
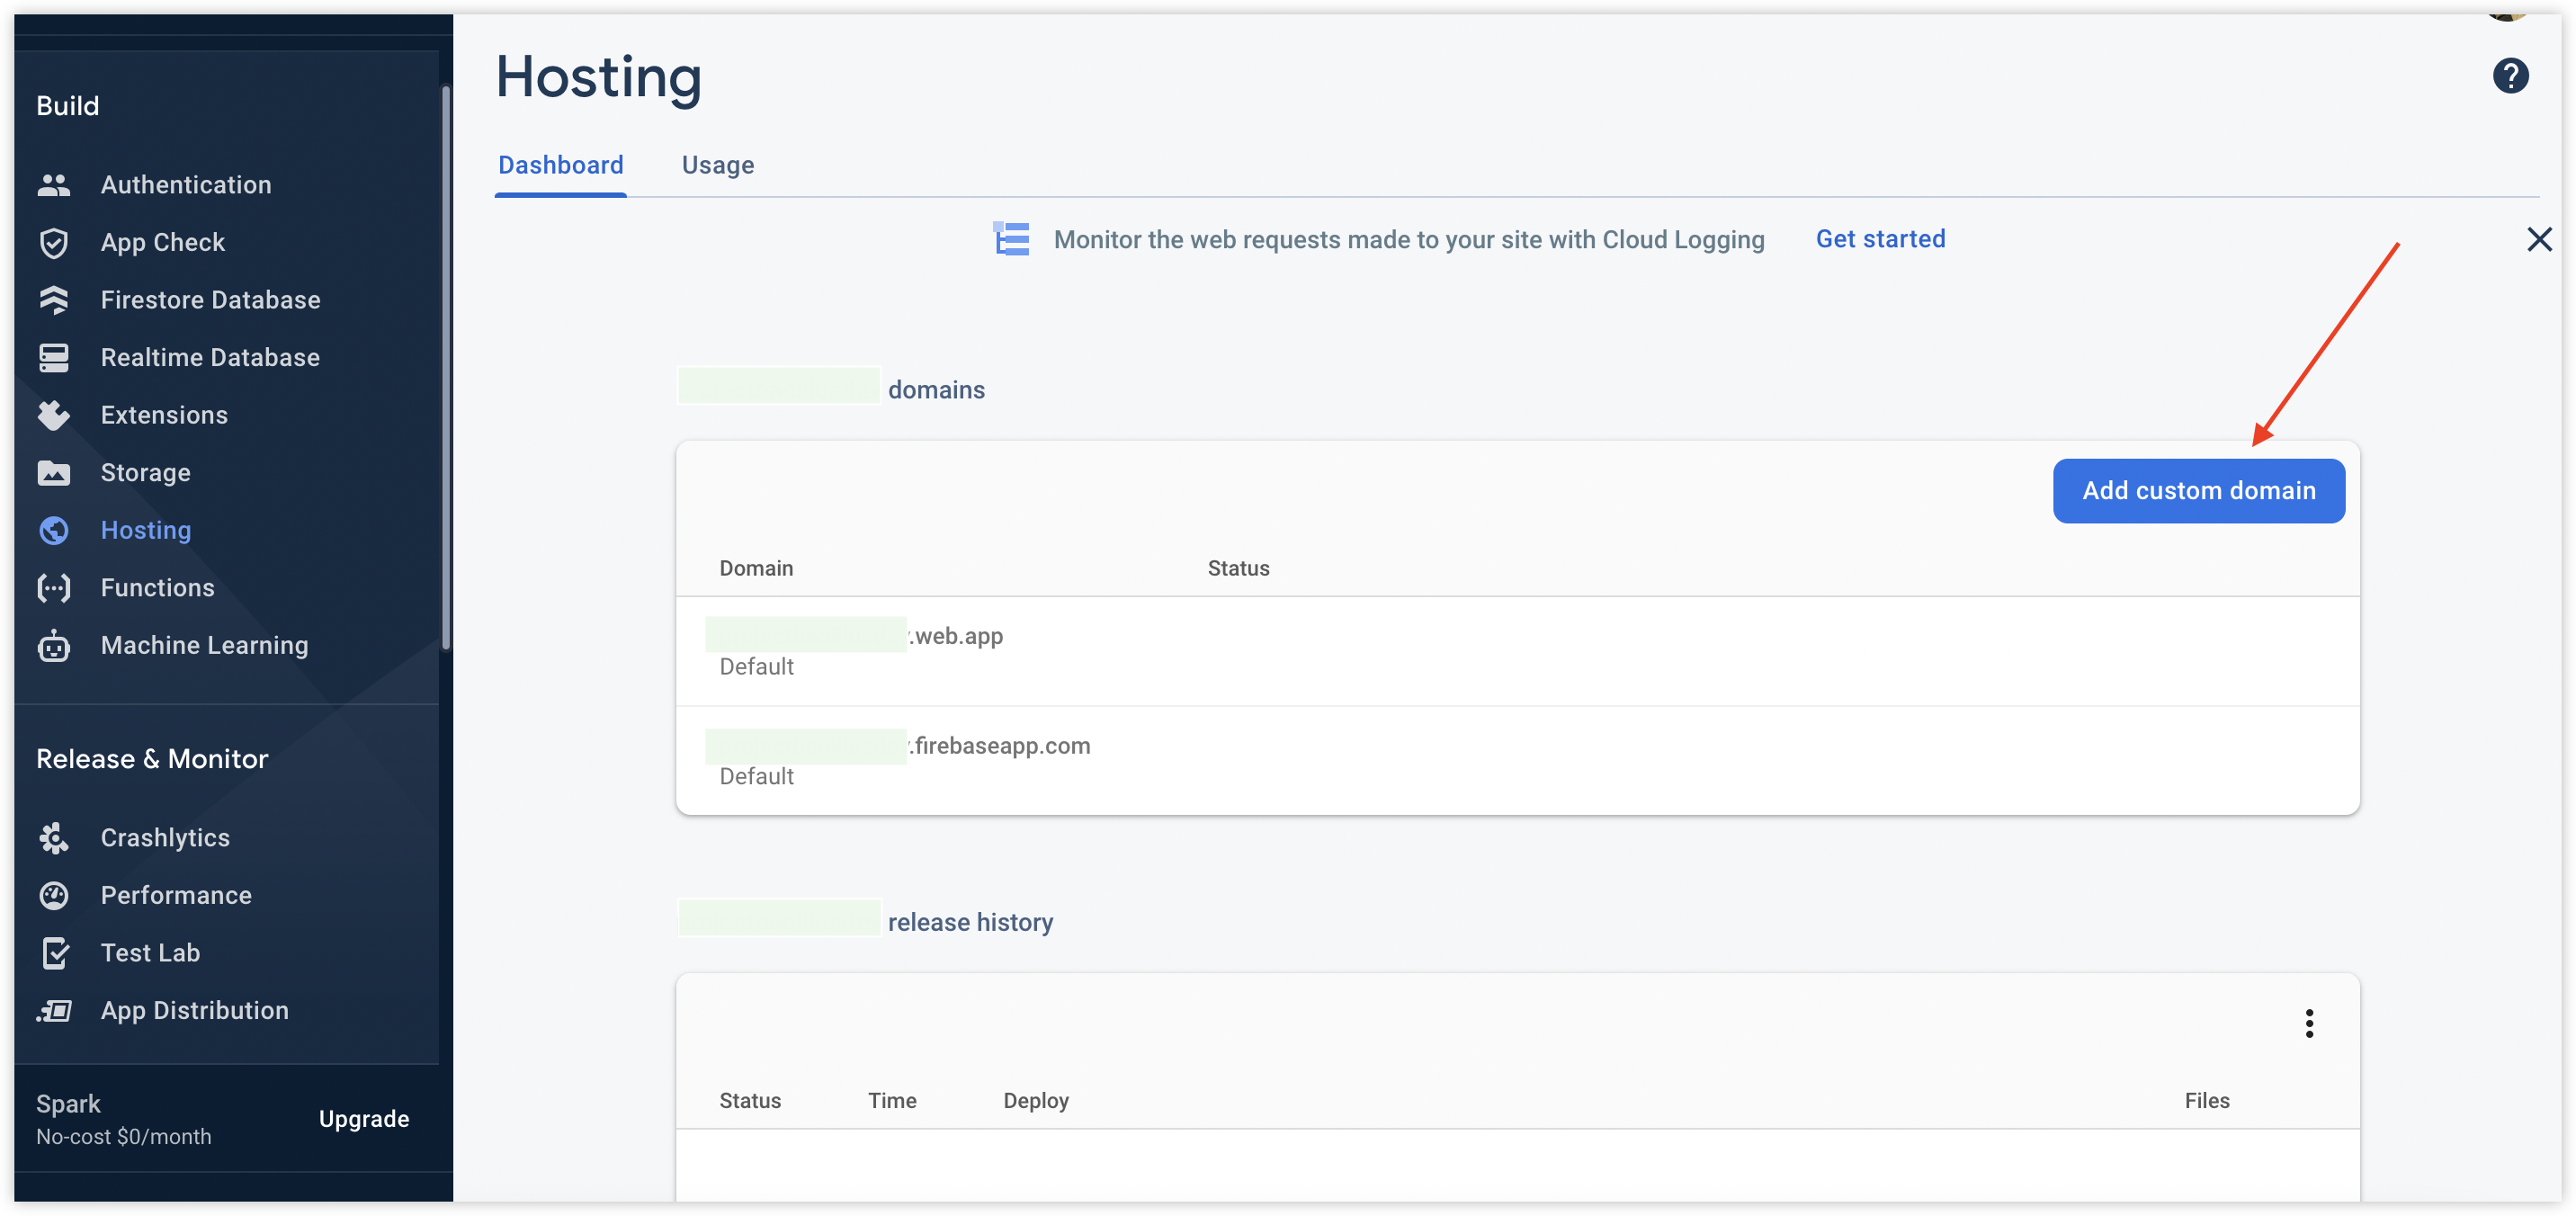
2. Navigate to the “Hosting” page via the side bar.
On my end it looks something like the image below. If I hadn’t learnt, I would’ve thought to myself “this is certainly not where I should be looking”. But it is exactly where you should be looking. 😅
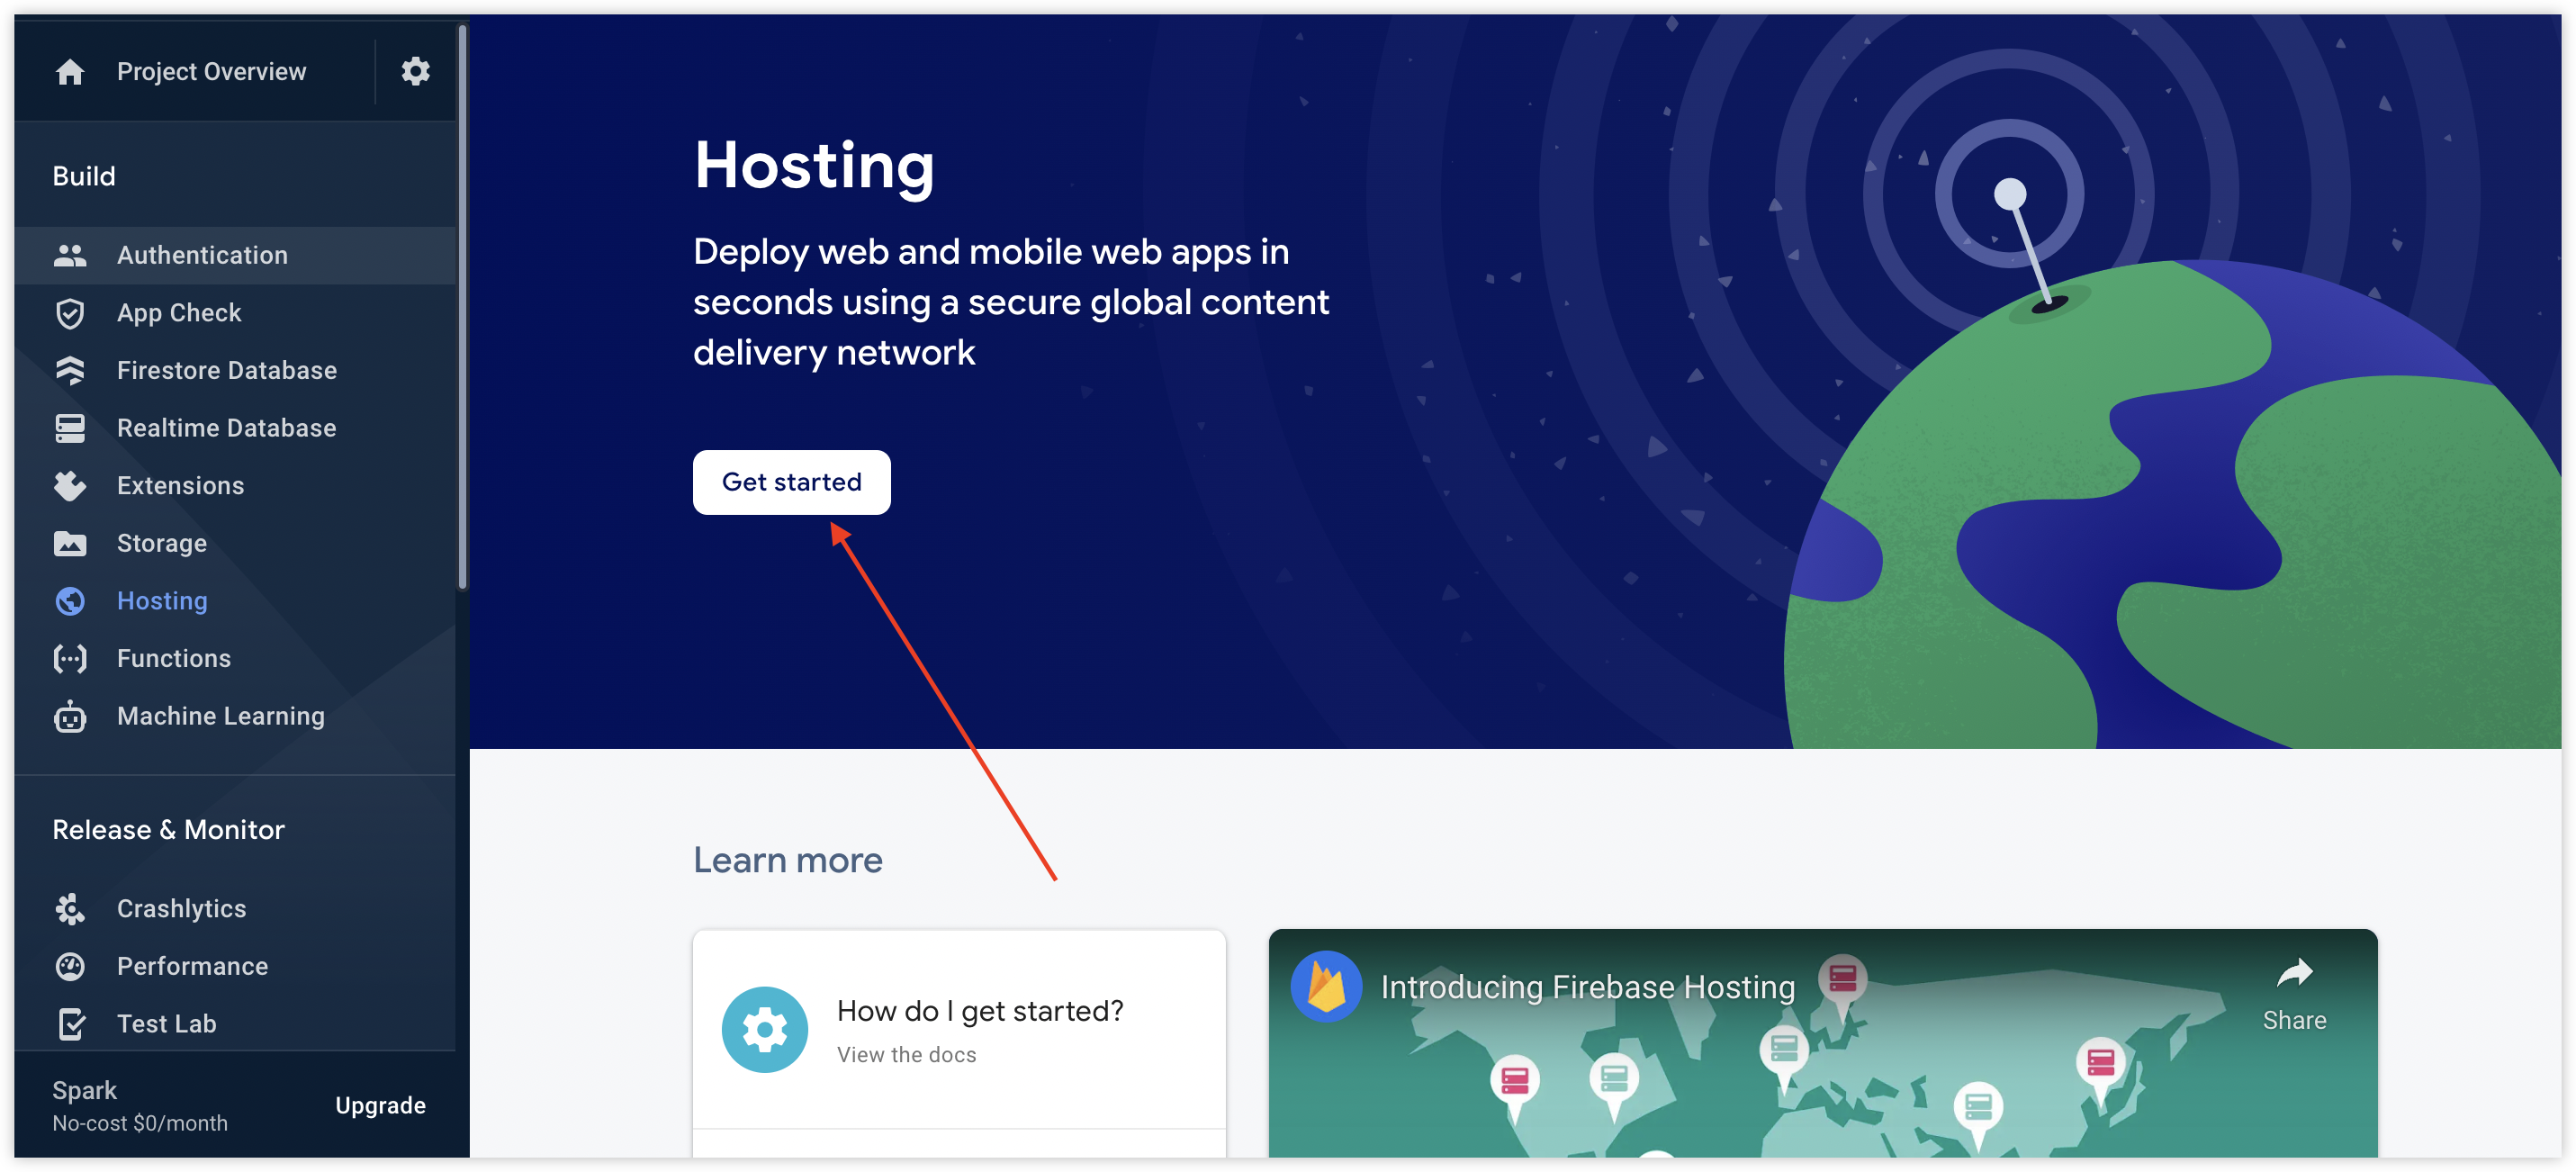
3. Click the “Get Started” button.
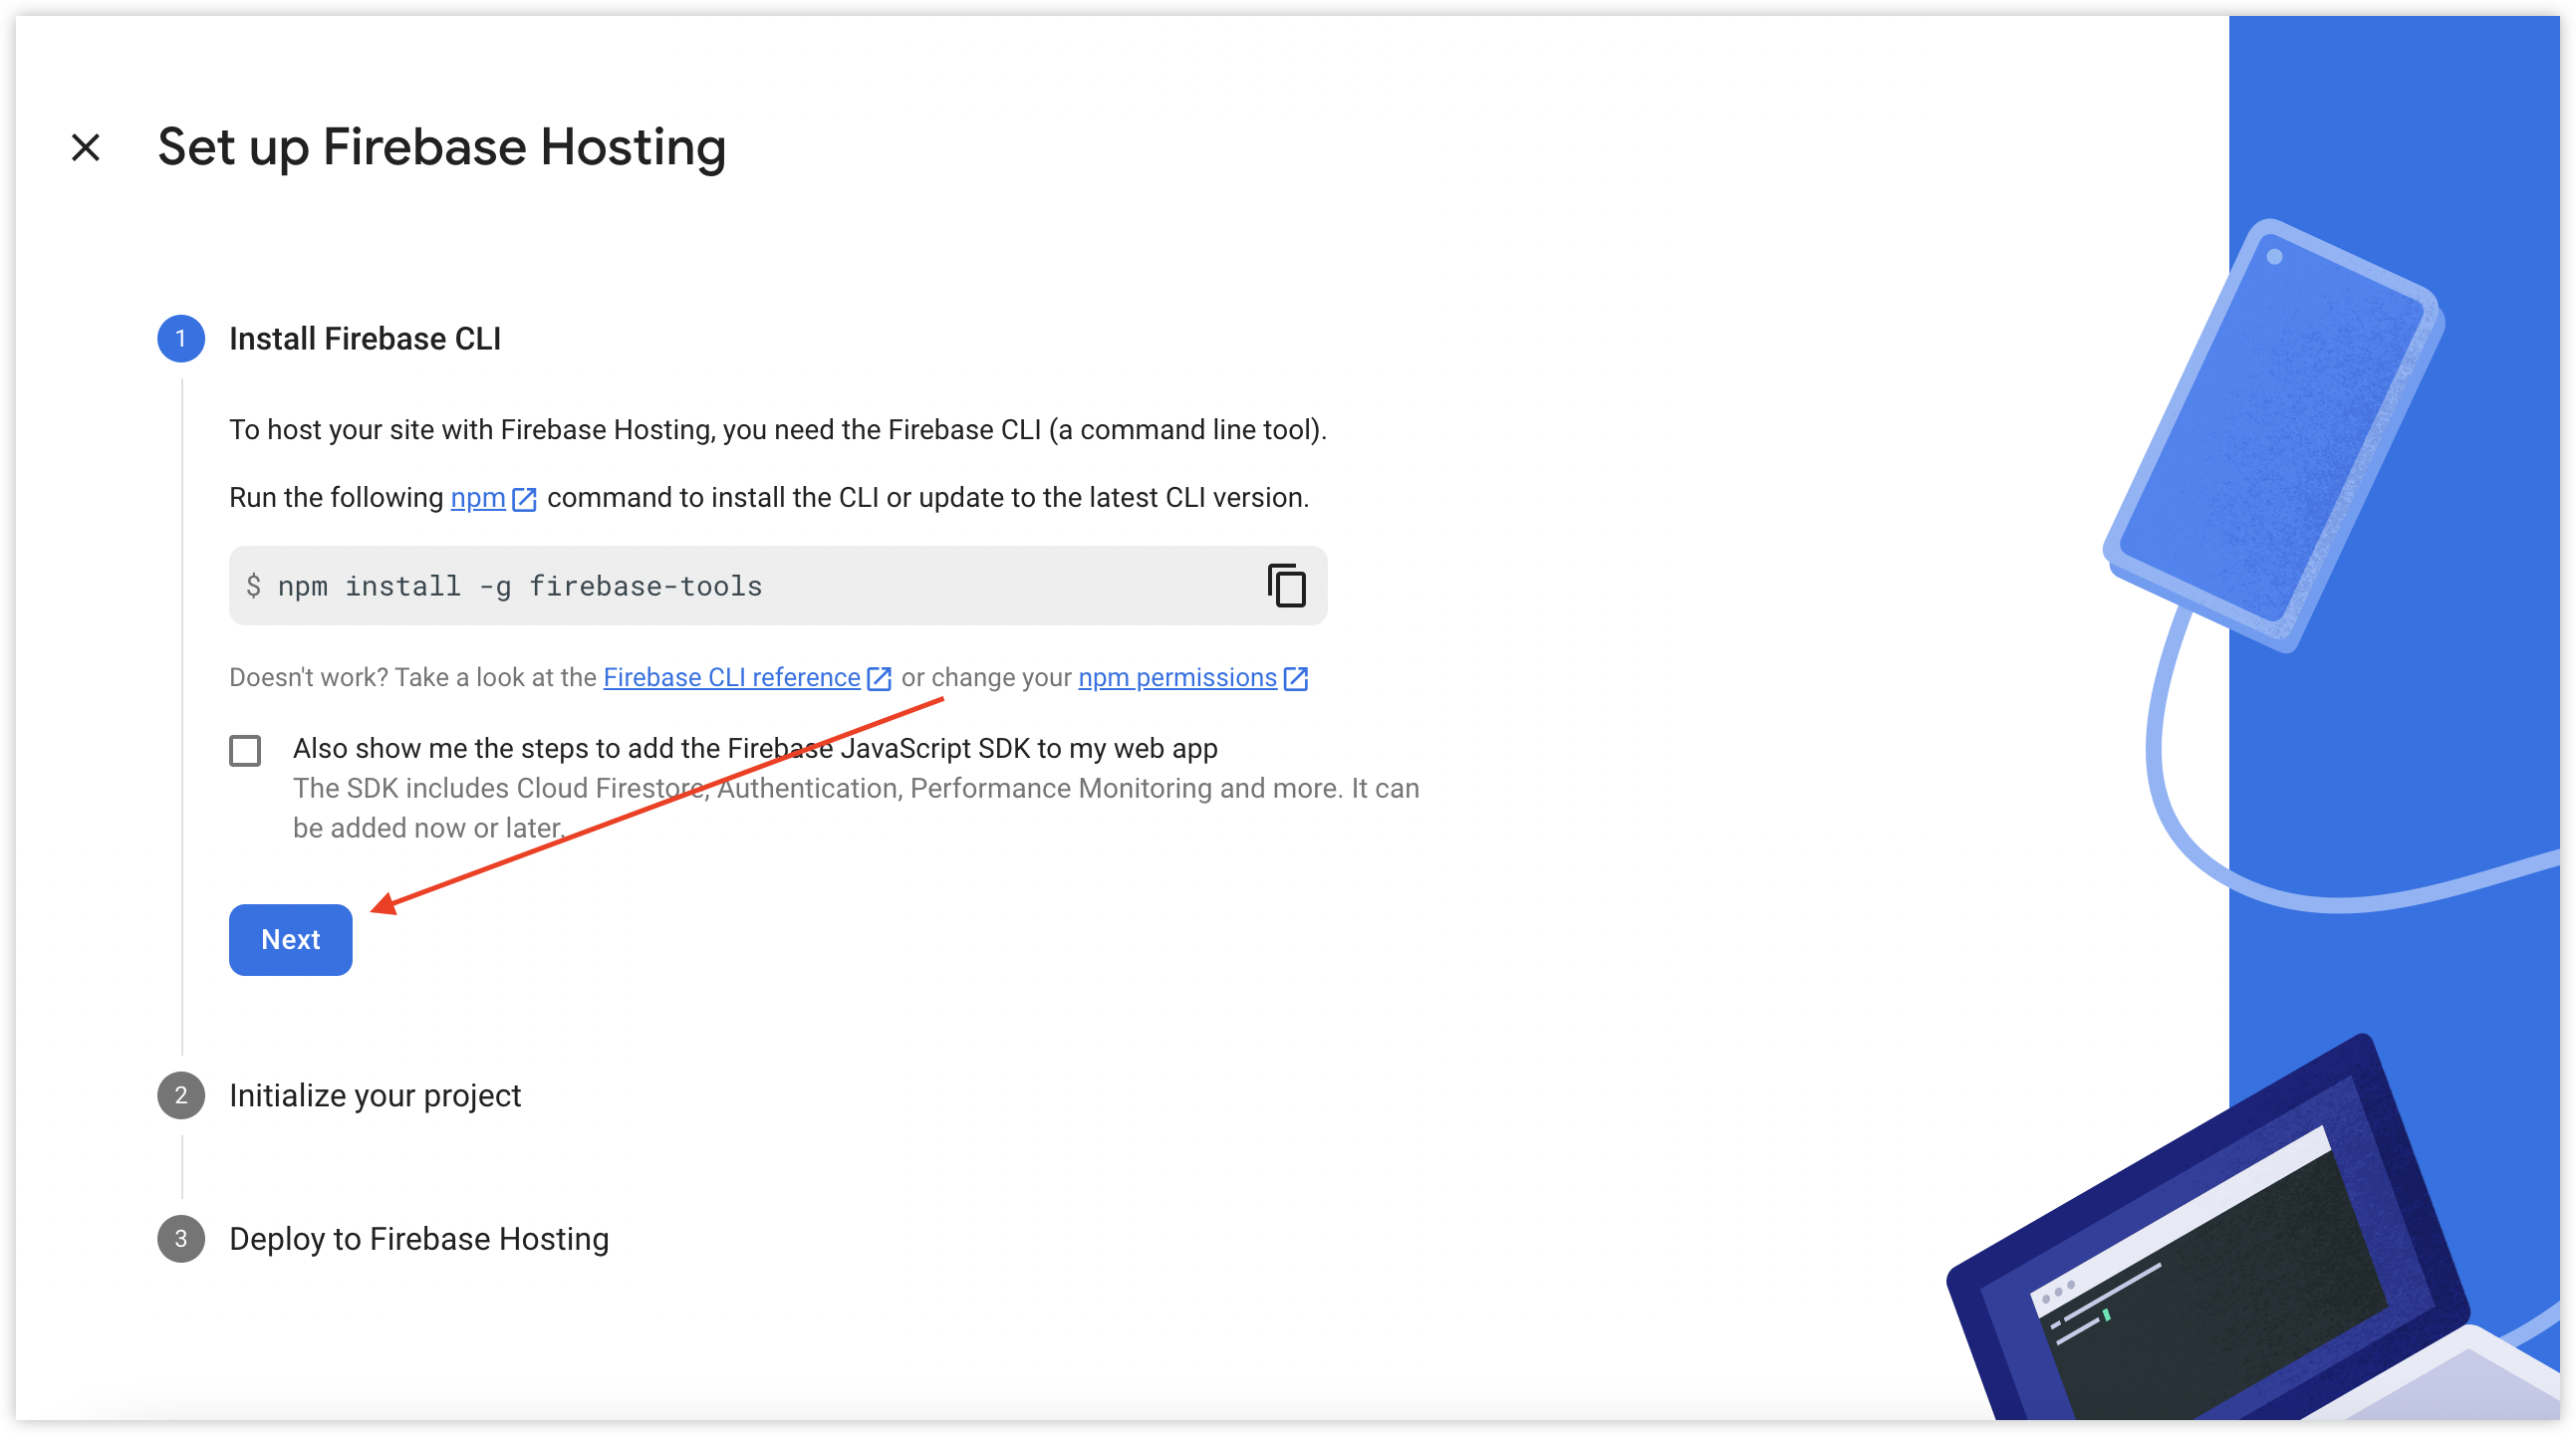
4. Keep clicking “Next” while ignoring all the npm related commands displayed.
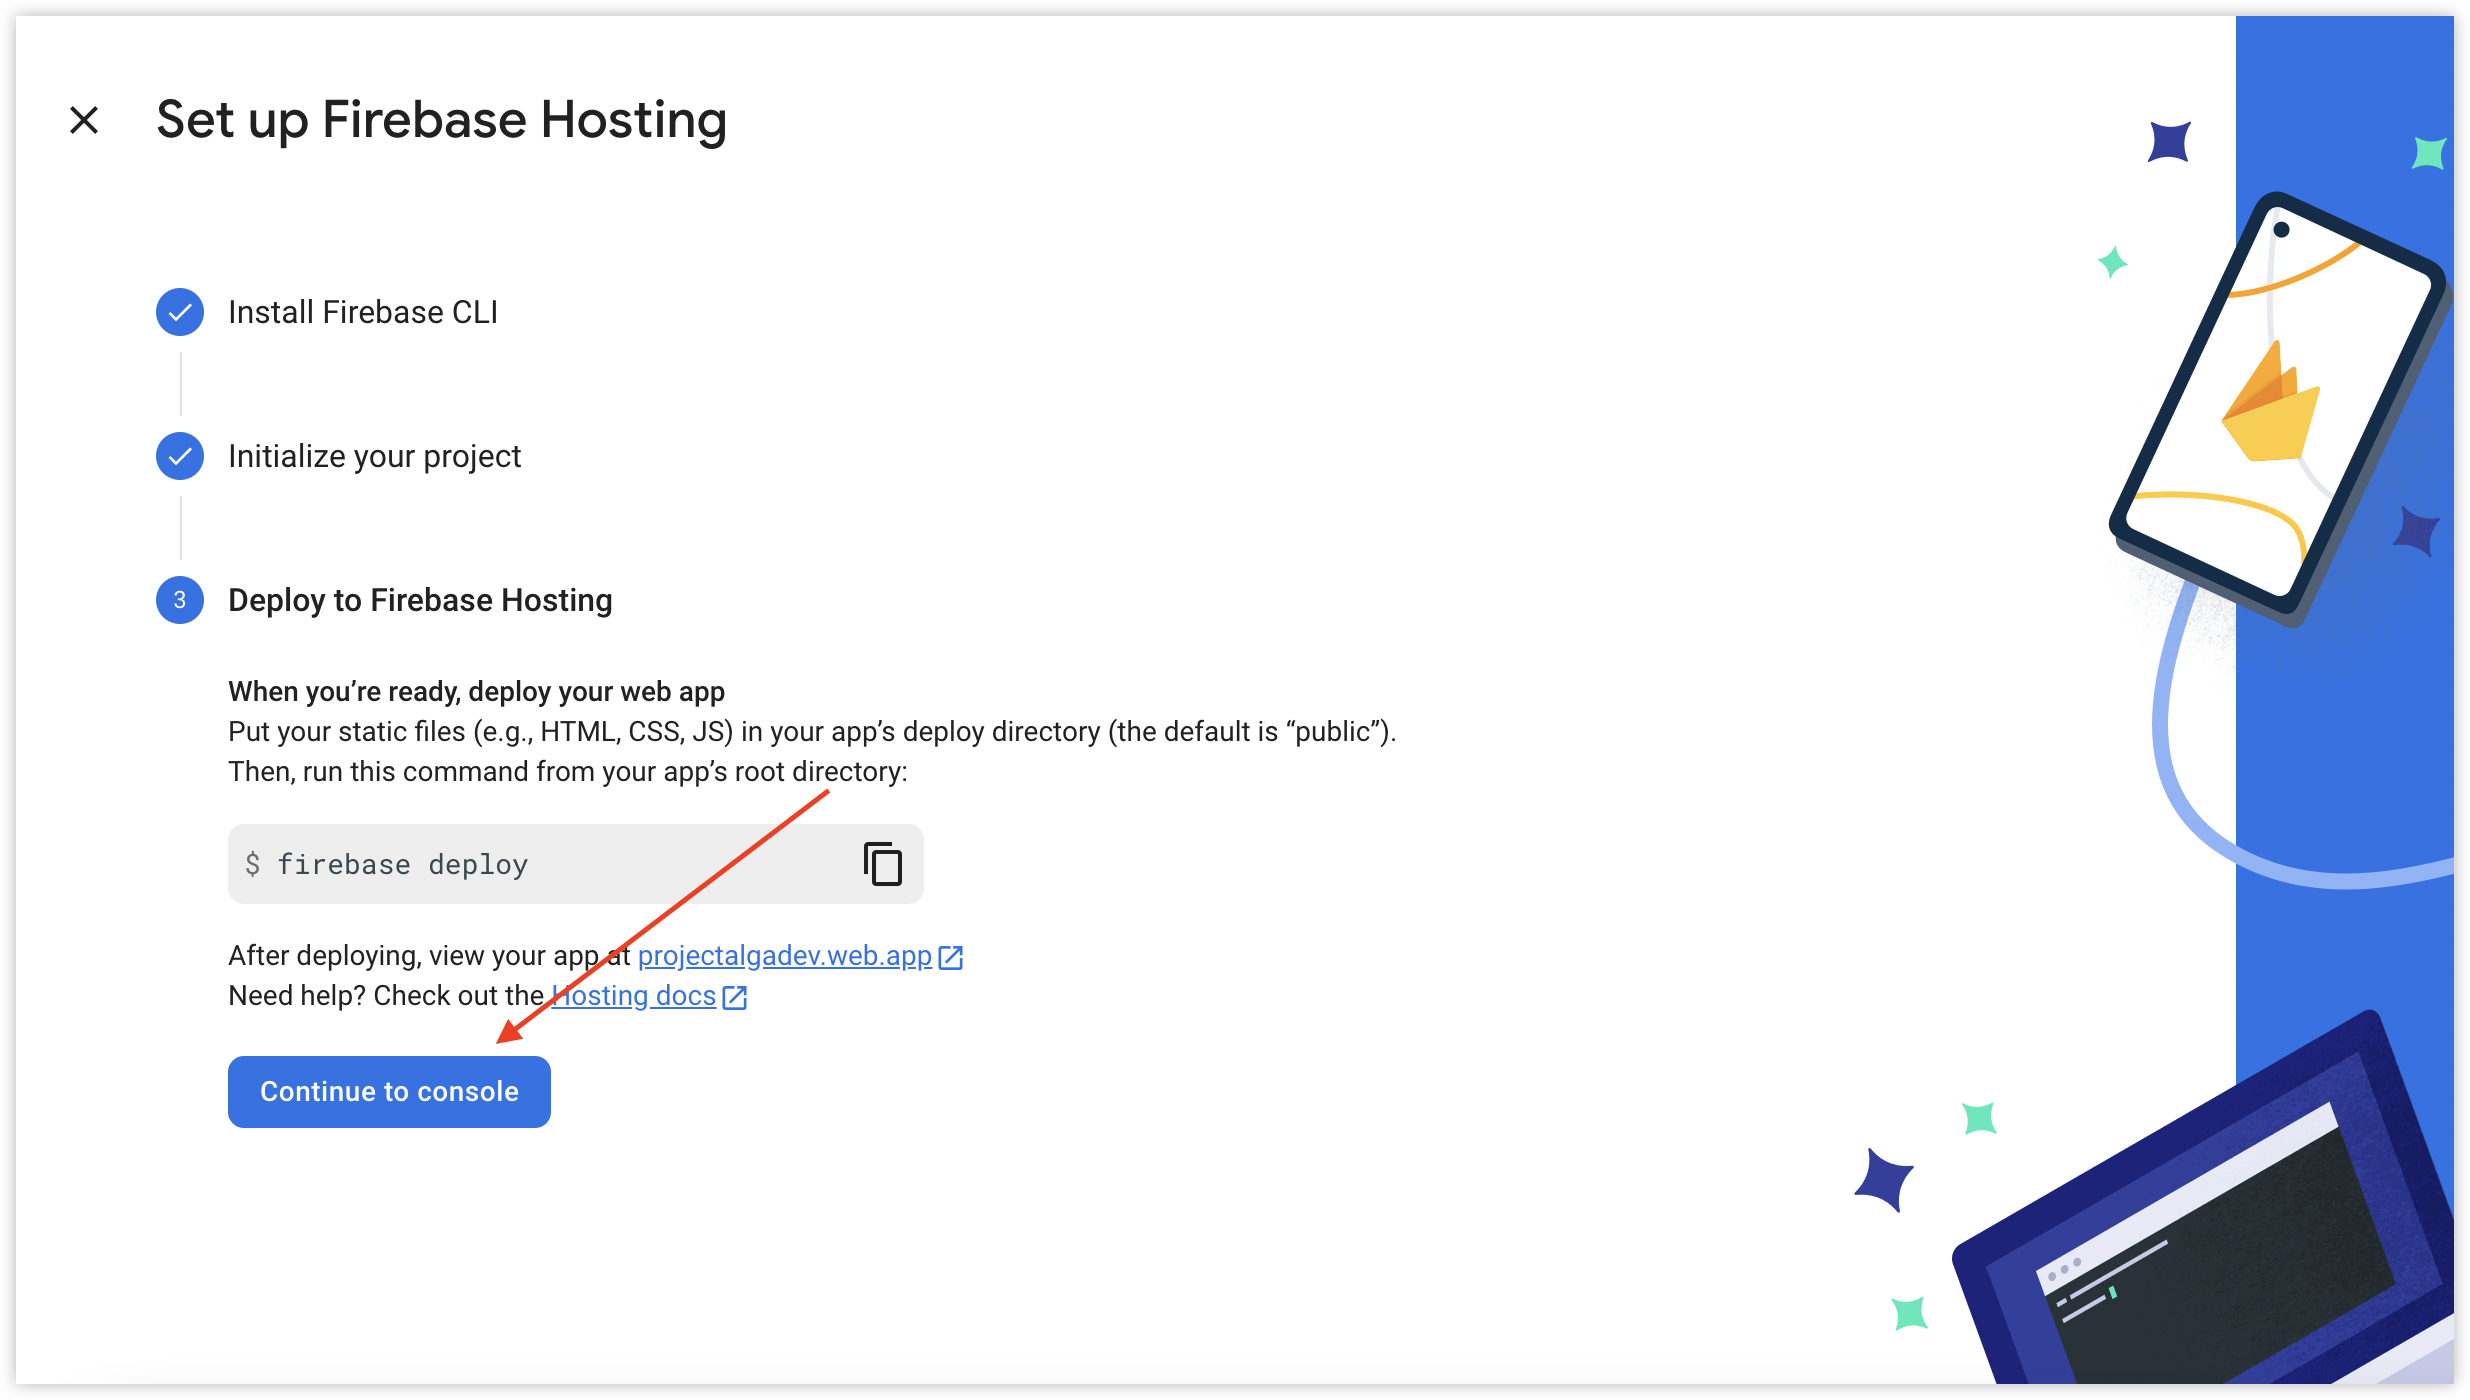
5. Finally, click the “continue to console” button.
6. Click “Add Custom domain”.
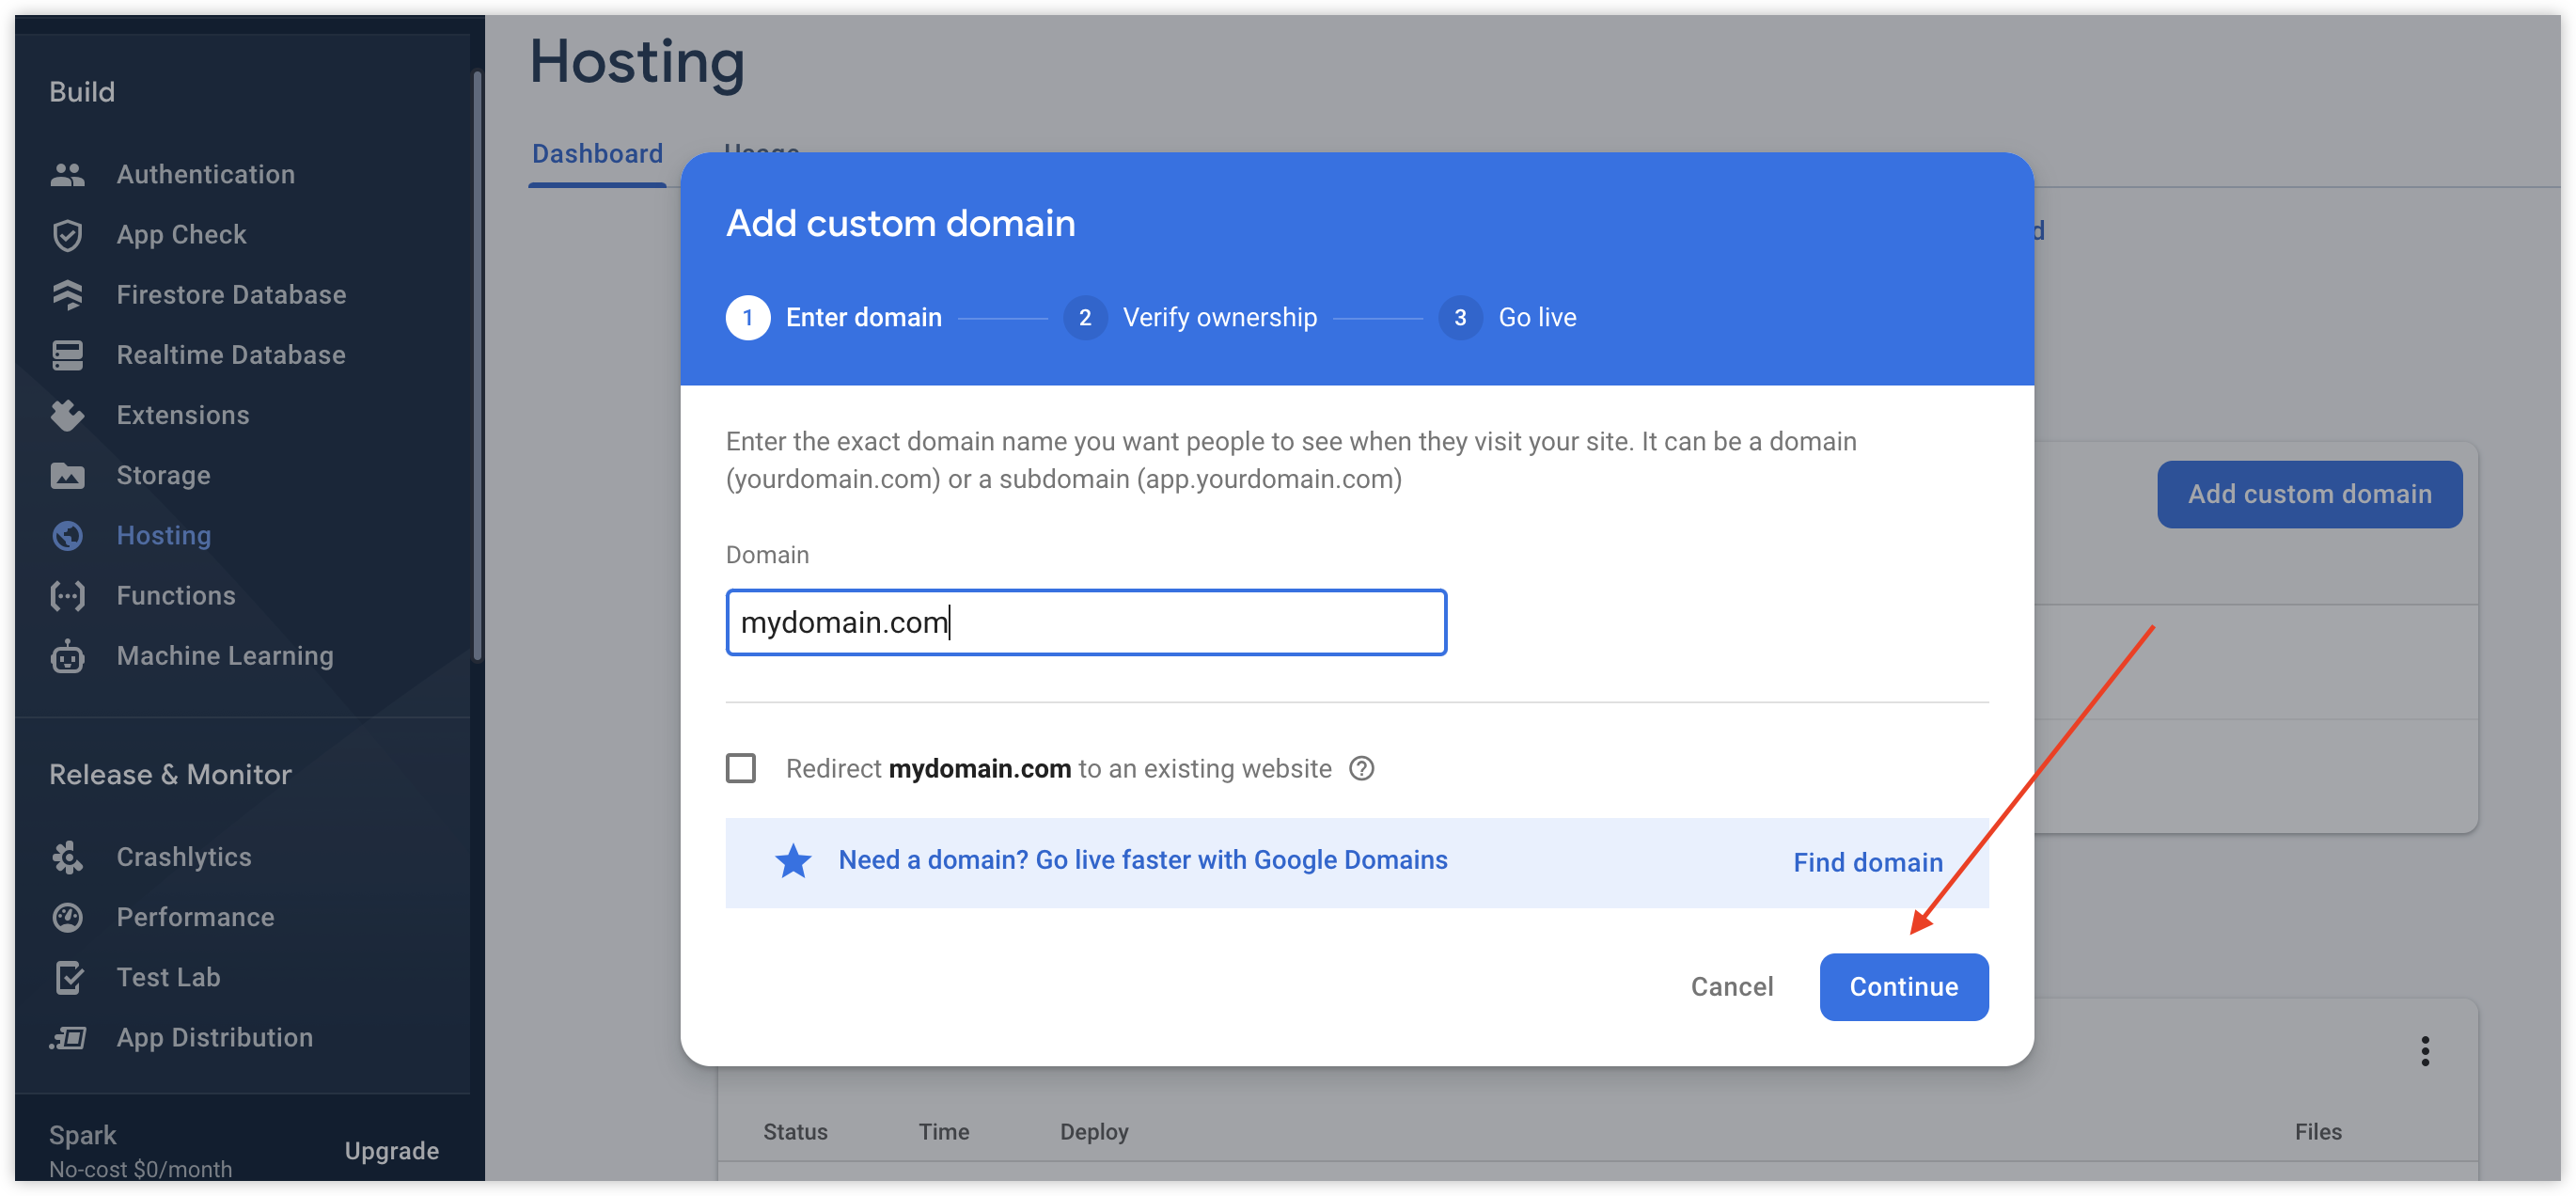
7. Enter the domain name you’d like to point your action URL to and follow the steps to verify the domain name on your Domain Name Provider website.
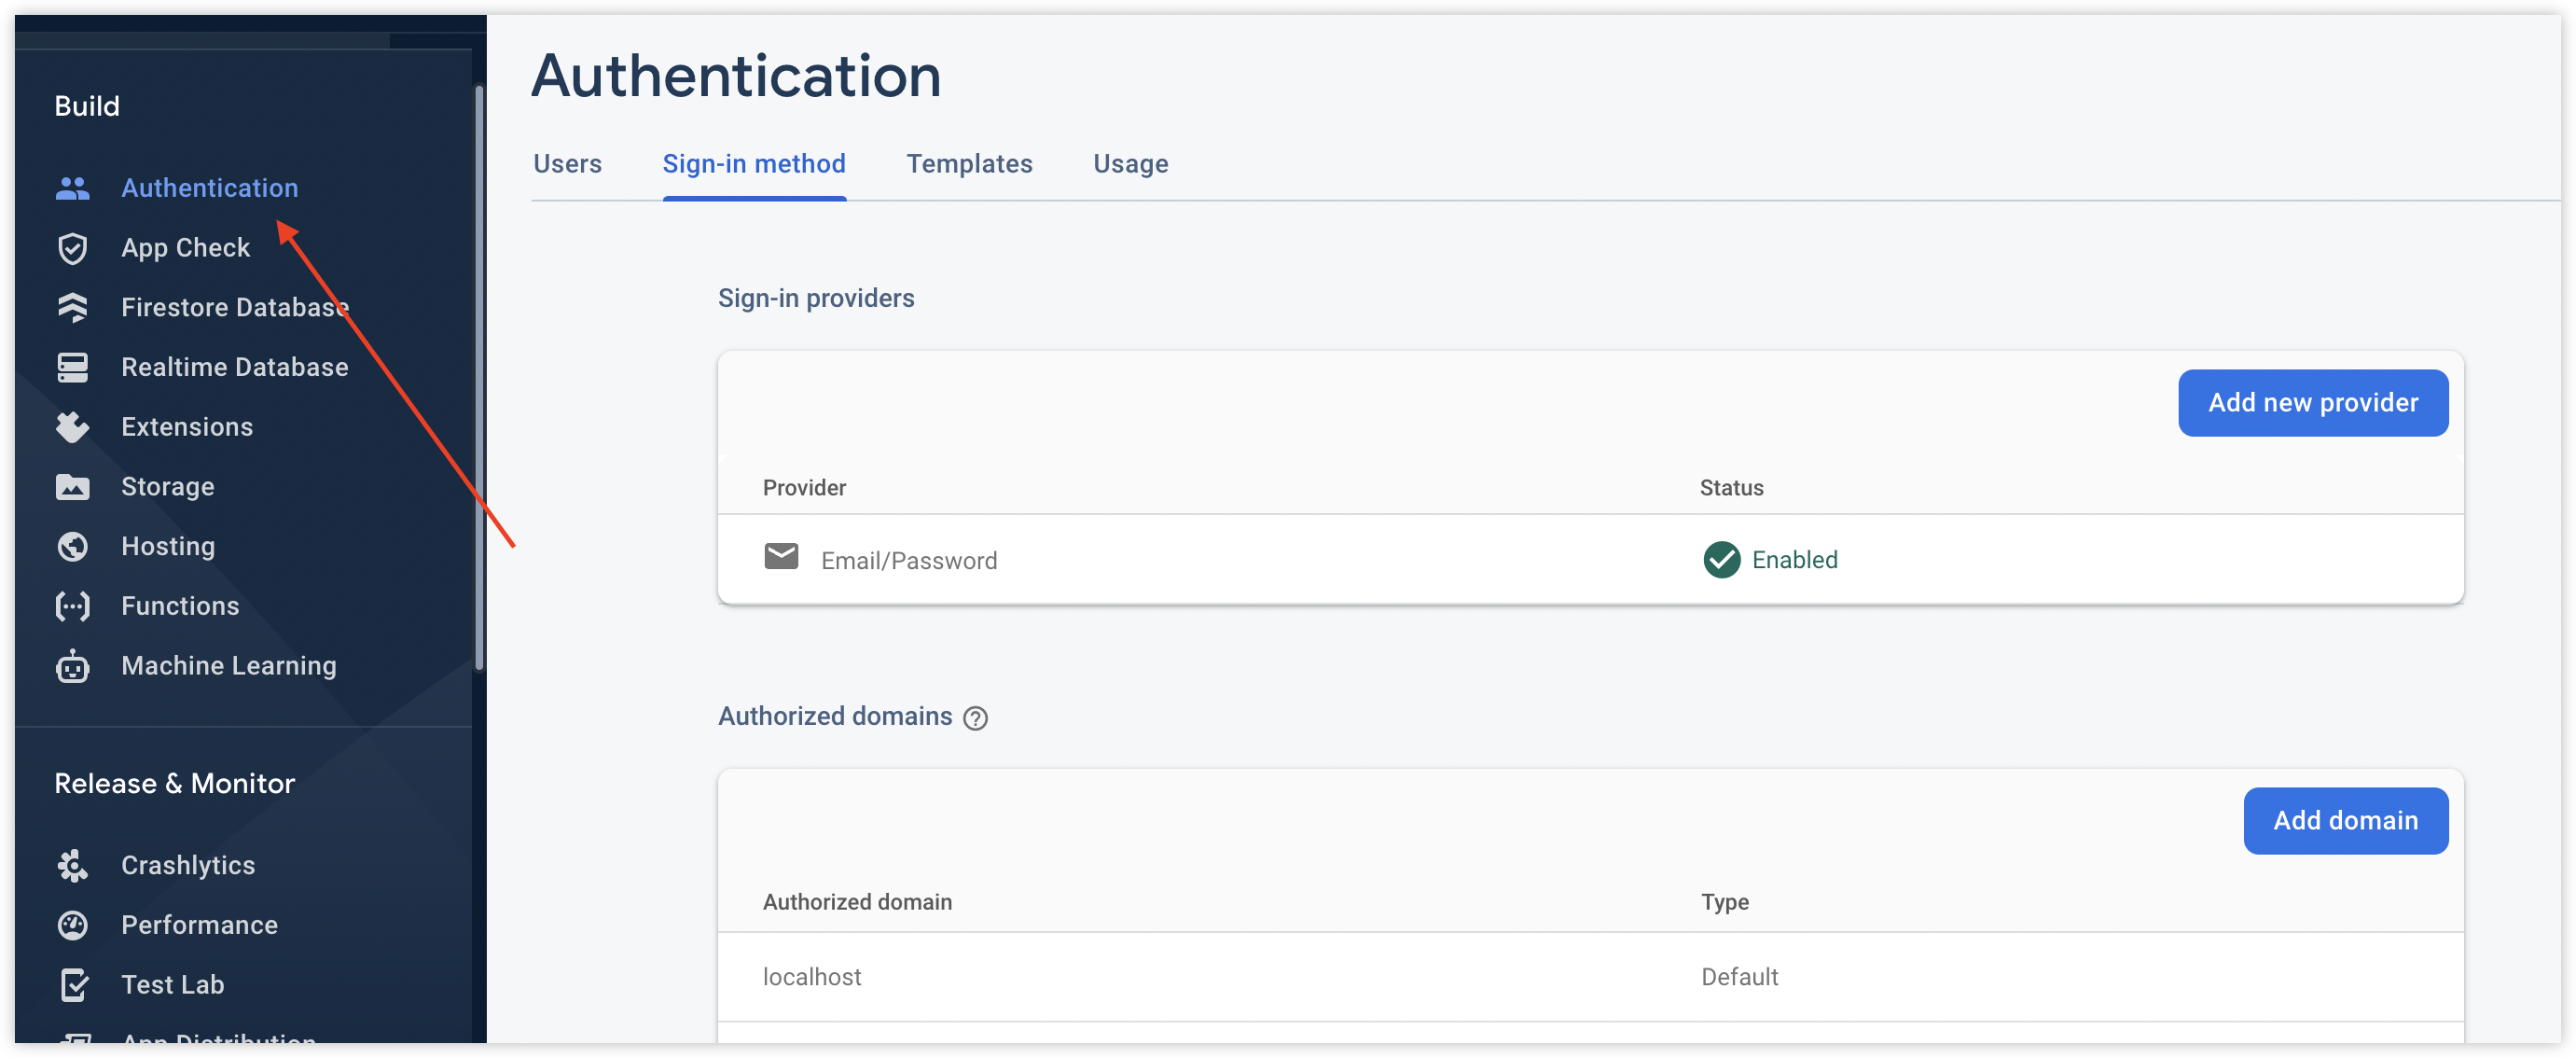
8. Now that domain name verification is done, click the “Authentication” link on the sidebar navigation.
9. Click the “Templates” tab
10. Click the pencil button
11. Scroll down and click “customise action url”
12. Replace the
projectname.firebaseapp.com part of the action URL with your new domain name while keeping the rest of the url the same. So for example, if the name of your project is randomproject, and your custom domain name is randomdomain.com, and the action URL looks something like this https://randomproject.firebaseapp.com/__/auth/action?mode=action&oobCode=code you’d simply modify the action URL to look something like this https://randomdomain.com/__/auth/action?mode=action&oobCode=code
13. Save it and test it out by triggering an "Email address verification" email.
14. Do the same for other email templates which you'd like to update.
And there you have it! I hope this has worked for you as it worked for me. If you’d also like to customise the email address that sends the email to your users, simply click the “customise domain” link (still on the “Templates” tab) underneath the default email address and follow the domain verification instructions. If you have any questions, please feel free to drop it in the comment section.